Over the winter, with some prodding from a friend in the neighborhood,
I decided to get into making coffee from scratch. And I decided to
jump into the deep end with
Moka Pot
(sometimes known as a “stove-top espresso maker”).
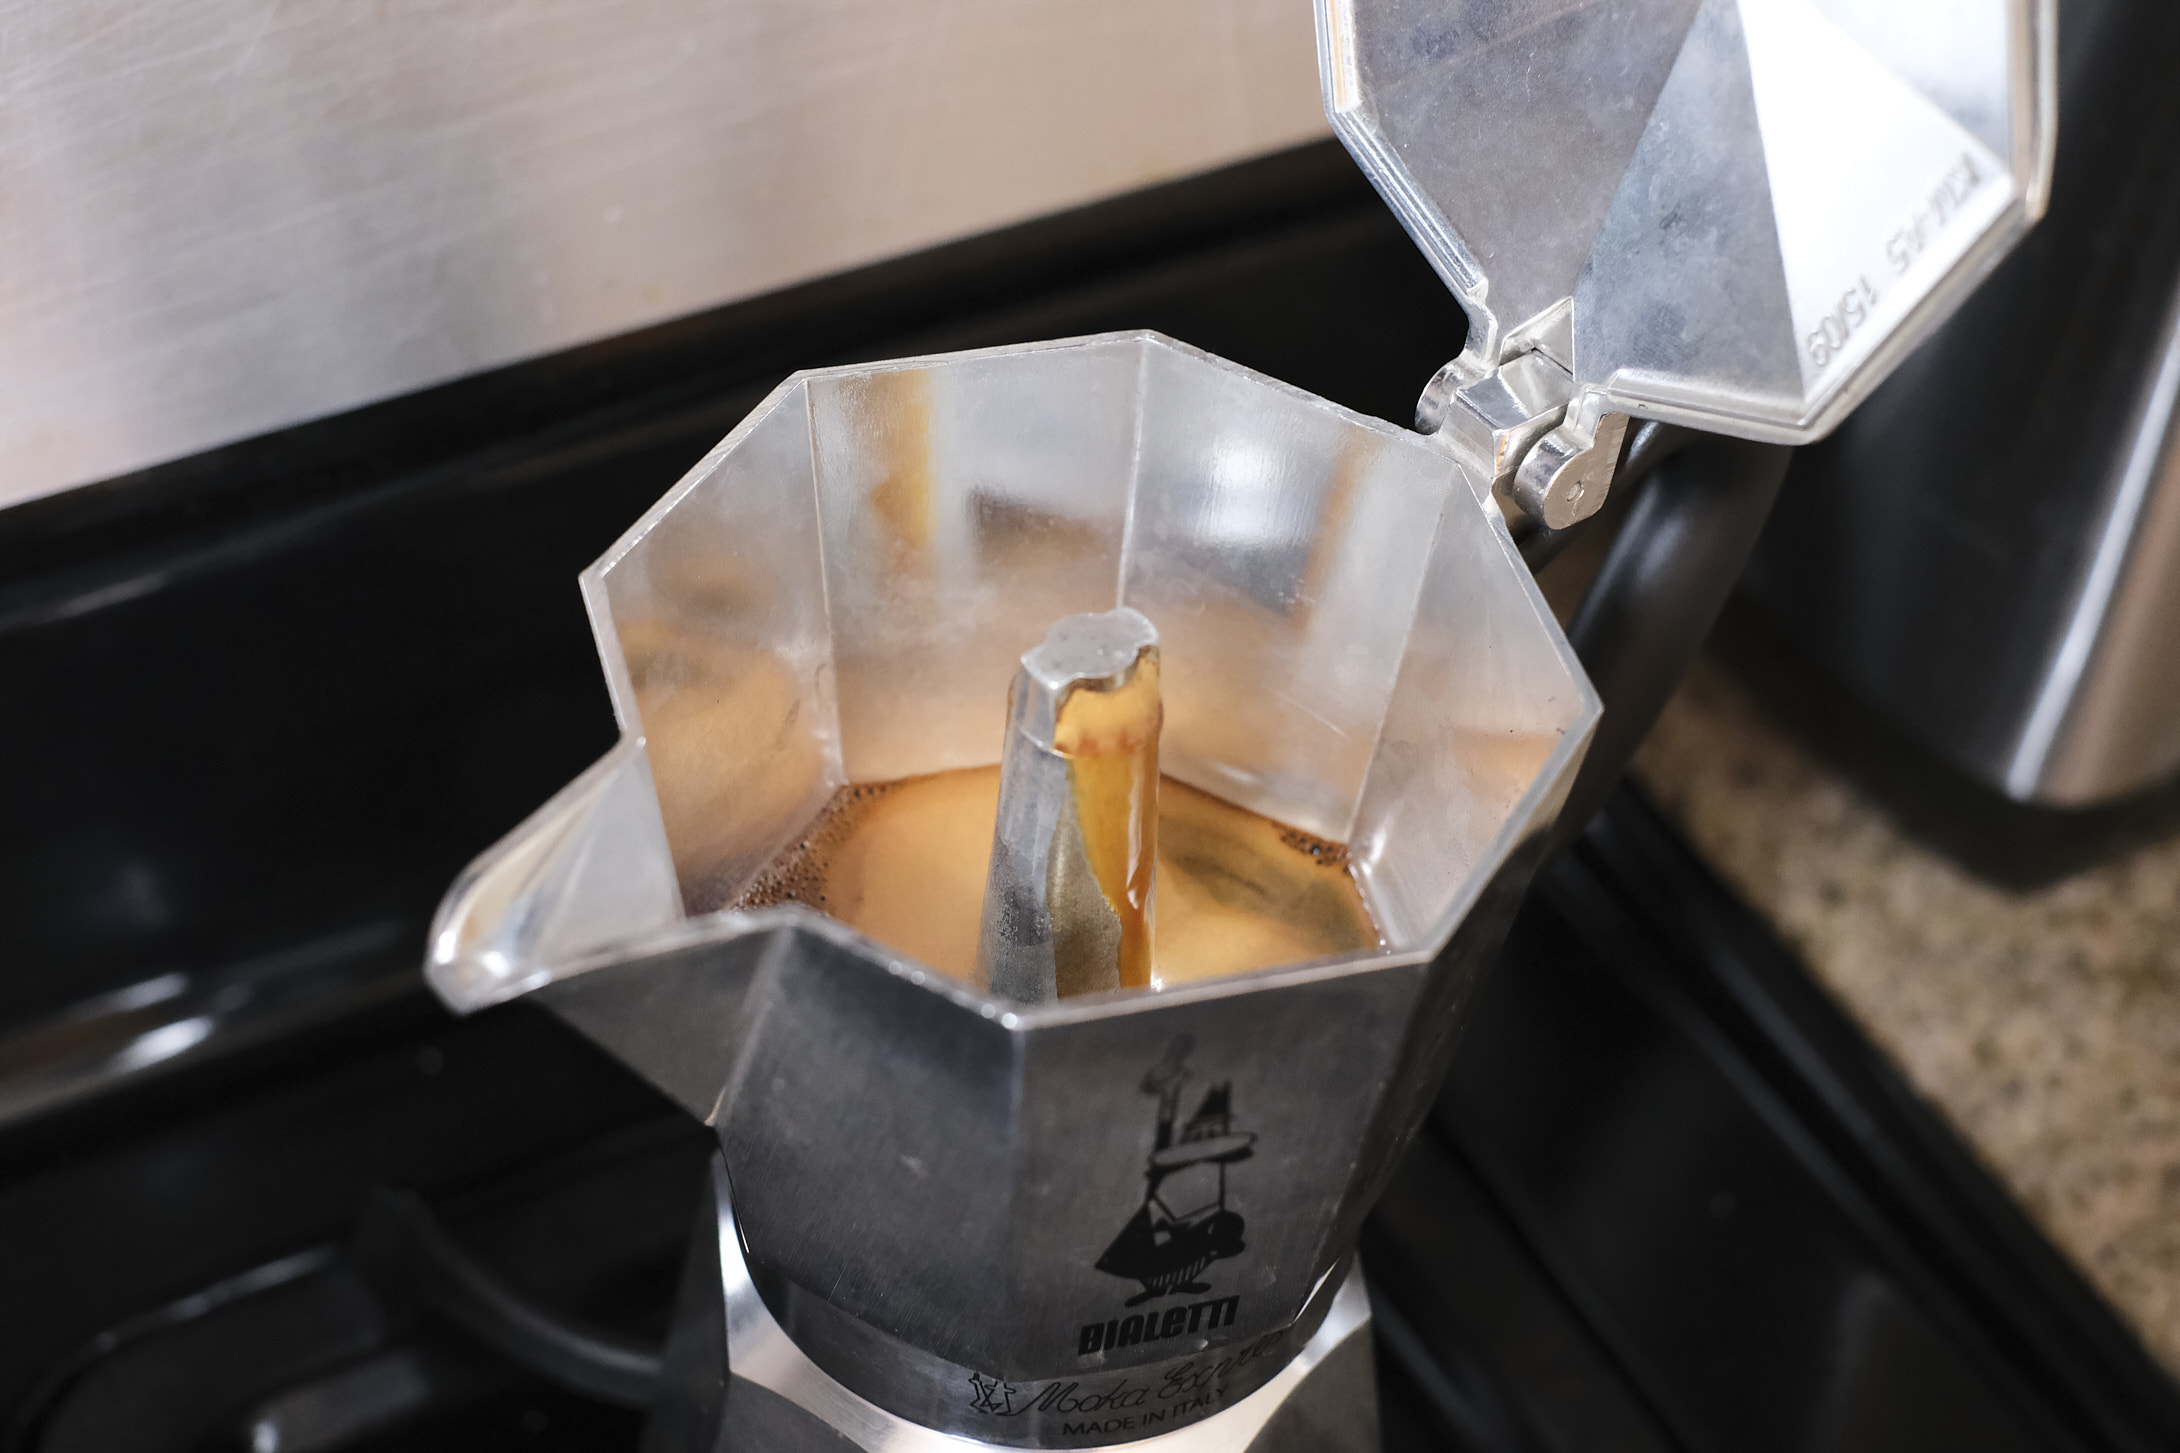
Coffee brewing with a Moka pot.
Moka pots are more popular in Europe, but can be found all over the
world; they’ve been around since the 1930’s. The Moka pot is a
stove-top coffee pot which approximates espresso while not costing
a small fortune (as opposed to espresso makers which can be pricey).
They come in a variety of sizes; and size does matter when it comes
to Moka pot. Moka pots are sold in increments of “cup” sizes, where
each “cup” corresponds with a single-shot of Moka “espresso”;
exactly that much “espresso” must be brewed every time for
consistent (or even decent) results.
The only reason I got the Moka pot is to be able to make
espresso-style drinks at home.
Like its namesake, “espresso” from a Moka pot is strong enough to
make drinks like “lattes” and “cappuccinos”.
(Coffee from pretty much any other method is too weak to survive
adding milk – they just become coffee with milk.)
And, as anyone who’s used a Moka knows, when they work, they work
fairly well; but when they go off, the results can be… well…
disastrous. Therefore, I’ve decided to tabulate some of my
notes on how I’ve improved my Moka preparation. These notes have
been compiled by consulting my coffee mentor quite a bit,
watching YouTube videos, and hanging out on
reddit.com/r/coffee.
Moka Notes
The best introduction to making Moka can be found be watching
(and re-watching) James Hoffman’s YouTube guide for Moka.
Watch that before you proceed:
Even after watching this video, though, I ran into a couple
of technical difficulties. Here are my supplemental notes
on Moka preparation and troubleshooting:
- Use coffee grinds that works well for Moka.
Many “espresso” grinds are actually too fine and can jam
the pot (and risk a steam explosion). But regular coffee
grinds can be too coarse and result in sour coffee.
I grind my own coffee (or get it ground at a local shop),
but you can buy coffee pre-ground to Moka consistency as well.
- Screw the pot together tightly. When I first
started out and my Moka was brand-new, the top of the pot
didn’t want to screw on very tightly, too much steam leaked
out, and my coffee would burn badly. I solved this by
grabbing an oven mitt and tightening as hard as I could.
I worried I’d “break” the pot, but I shouldn’t have, because
the aluminum is very thick.
- Use very hot or nearly-boiling water in the bottom of the chamber
(as Hoffman notes). Starting with hot water not only reduces
the total time involved, it’s also crucial to avoid burning
the coffee.
- Don’t “tamp” the grinds into the basket, whether by hand, or
using an espresso tamping tool. Tamping the coffee risks
clogging the machine or introducing uneven coffee brewing to
the pot. The former can cause a dangerous steam explosion,
and the latter can result in a mixture of bitter and sour
flavors in the pot.
- Evenly distributed the grinds by “leveling” the coffee at the
top of the basket is okay,
but don’t overload the basket, and don’t push the grinds down.
- When loading freshly-ground coffee into the Moka’s basket,
I “tap” the bottom of the basket on the counter to help release
the trapped air and get the grounds to settle. In my experience
this helps obtain more consistent results.